Zenfone 2 was released a couple of months back and has been a pretty big success. Zenfone 2 comes in a lot of variants and we have the Zenfone 2 laser. So today we will tell you how you can take a screenshot on the Zenfone 2 laser.
Taking a screenshot is one of the most essential part of a smartphone. Screenshot increases the productivity as you can get a copy of what you see as a picture and you can review it any time. So here is the Tutorial on how you can take a screenshot on you Zenfone 2 laser. There can be a lot of methods to take a screenshot on Zenfone 2 but we will list the top 2.
Take a Screenshot on Zenfone 2 Laser
Method One – Using physical buttons
Step 1) Navigate to the page where you want to take the screenshot, it can be a webpage, a game or even a message.
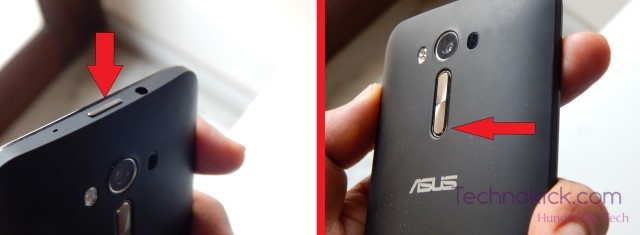
Step 2) Press the combination of these buttons at the same time “Power button” + “Volume down” 
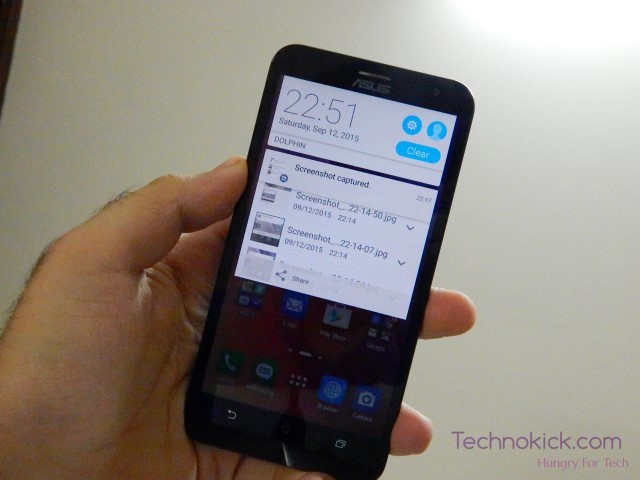
Step 3) Thats it! scroll down to see how you can see the screenshot you just took
Method Two – Using the option from Navigation bar
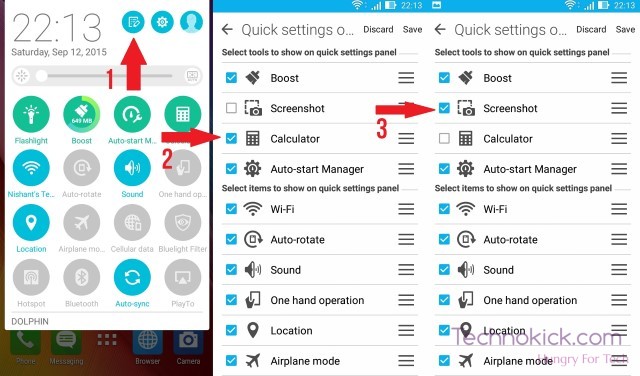
Step 1) Toggle the Navigation bar and press “Edit” (See the picture below) option, Un check the option you don’t need and check the “Screenshot” option.
Step 2) Now navigate to the place where you want to take a screenshot
Step 3) Toggle the notification bar and press “Screenshot”.
Step 4) Thats it! Scroll down to see how you can see the Screenshot you just took
View Screenshot in Zenfone 2 laser
Method 1 – Using Gallery
Step 1) Navigate to Gallery
Step 2) Tap “Screenshots”
Step 3) You will find your Screenshots!
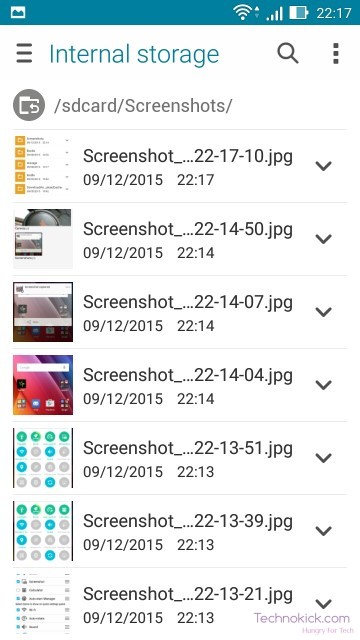
Method 2 – Using File Manager
Step 1) Go to File Manager
Step 2) Select Folder named “Screenshots”
Now you can find all your Screenshots!
If you still face any difficulty or you find this article helpful, let us know in the comment section below!


