So Motorola has finally launched the Moto G 3rd Gen, It has a 13MP rear and a 5MP front camera but still people have a number of doubts as Motorola is not that great on the Camera part. So this article maybe be a big one but it will worth the read. I will first Review the pictures captured by the Moto G 3rd Gen, then will compare the low light photos and will later also determine the geeky info. There is also a tutorial on how to use the Motorola’s Moto G camera, If you like to see that article, I will link it.
Motorola Moto G Camera Review
Daylight
As said the Moto G has a 13MP camera with a Toshiba sensor, Toshiba is not at all perfect in making sensors and many times have failed in making a good camera sensor in history. The 13 Mega Pixel camera has a f2.0 aperture which is pretty standard in the cameras now a days. I will start by showing some pictures of the daylight without HDR. I have compressed the pictures but you can get a complete look by seeing them in full resolution, the link will be provided at the end of the article.
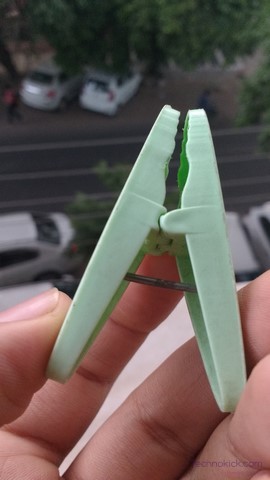
As you can see from the picture above, The image is clear but has a little grain in the layers. Also this image is a result of 4 attempt which I made, all others are shaky. Moto G 3rd Gen’s Camera does not have auto stabilization and also with enough light and mid ISO, the images tend to shake up.
Gallery
The images above were all taken in ample of light. Even though it was taken in a bright sunlight, hats off to Moto G for delivering such a colour corrected image. The auto white balance does the job really well in close by shots.
Also Read: No grip shells for Motorola Moto G 3rd Gen
Overall in the daylight the phone performs well, but you still get minor grains on the images. The crispness which phones now a days delivers is lacking. Now if we shift it to Landscapes, the picture comes out to be really wonderful. The colours are vibrant and there isn’t those gains which are there at other times. I would be having the full resolution pictures at the end of this article, you can check that out too.
Artificial Light/ In Room with Moto G 3rd Gen
After hearing about the grainy pictures, you may think that Moto G camera really sucks but that isn’t true, As said the close-ups are clear with a very little grain. Motorola Moto G has Auto HDR and in artificial lighting most of the times HDR is used. See the picture below.

As you can see the image shot with HDR mode is crisp. There isn’t much of grain and also the there is a little blur in the background pretty much like the macro mode.
Image without HDR

As you can see in the image above, the object is still clear but the picture has more grains than before. Also there is more light on front whereas it is darker in the background.
Overall I would say the pictures shot by the Moto G in Day light and in Artifical lights are good. You can’t get the quality which you get on maybe the galaxy S6 but for a phone costing around 140$, this is pretty good. But, you may say that almost every phone performs well in good lighting so hold on, we have the next and most important thing in the camera, The low light shots.
Low Light photography of Motorola Moto G 3rd Gen
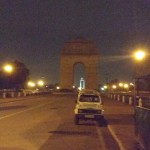
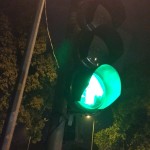
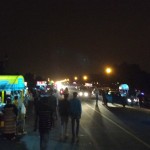
This parts gonna be intersting so first let me show you some pictures.
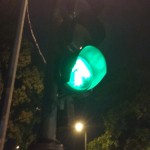
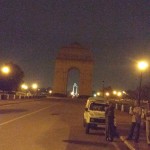
So as you can see from the images above, The low light pictures isn’t that bad. With a minor adjust of white balance you can get a perfect shot. The graininess might increase but overall the picture will be better. If you see the pillar image in which 13 is written, The picture is damn clear and crisp, also there isn’t any grains in it. The same goes for the image of the Red light, less grains and more clarity thanks to the HDR mode.
Check out : How to take a screenshot on motorola Moto G 3rd gen
Dual Tone Flash on Moto G 3rd Gen
The Moto G has a dual tone flash and which does the job well. The picture below was taken at absolutely no light, the dual tone flash helped in colour correction and as you can see, there is no yellowish tint which we often see in other cameras.
Even though the above image has a bit of glare, but still the real image is clear.
Selfies
The Motorola Moto G has a 5MP front camera. The pictures on this camera isn’t that grainy but I feel like it is not that clear. The phones like the Asus Zenfone 2 has a much better selfie camera than this. See the Image below.
The image above may seems to be clear enough, but the time you zoon in, the picture gets pixelated. You can find the full resolution pictures below.
Overall I will say that Motorola 3rd Gen’s Camera is a big improvement over the last one. The close-ups tend to be a little grainy but when you are in ample of light, the pictures comes out to be very well. The contrast in the pictures is vibrant and catchy. The other thing I liked about, is the UI of the phone. I have also done a full tutorial on the Moto G 3rd Gen Camera UI, you can check that out. It is simple, elegant and fast.
I would say that the camera of the MotorolaMmoto G 3rd Gen performs great in out doors but in artificial light, the picture comes out to be a bit grainy. The night shots are also well executed. The addition of the dual tone flash is a cherry on top. I would rate Moto G’s camera as 7.5 out of 10 in indoors and 8.8 in outdoors.
The Motorola Moto G may not be a specialised camera phone, but seeing the price and the other features, Motorola has done a great job in providing a Crisp and Vibrant Camera
The full resolution images will be added soon.















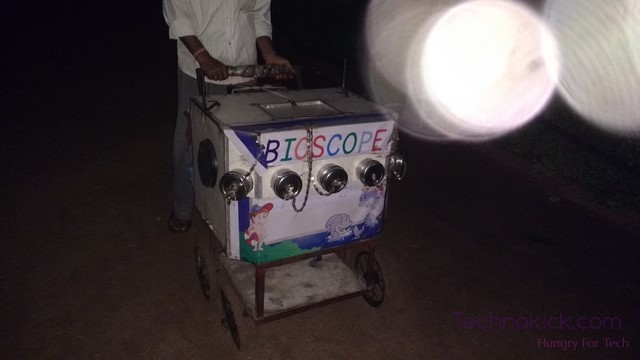

hi I clicked the image with dual tone flash in night but i am getting images with yellowish tinge .But your image of “bioscope” was perfect with dual tone flash? how what setting u r applying.I put every thing in auto mode but getting yellowish images
Hey Jai, Have you applied a case or something? If yes then try removing the case as sometimes the case produces glare because of which the images may come a little yellowish 🙂
no case i am using & not any secure film on camera lens but still i am getting yellowish images.But when i edit the images with photo editor & click the auto colour button i get the perfect pictures.First image is clicked in very dark light condition(with zero visibility) with dual tone flash & i am getting very yellowish image.but the same image when i edit & set auto colour then moto changes automatically changes its colours which is closer to natural colours(in second image)
sorry image size is different because there was limitation of 2mb to upload image so i had to cut both images manually so that they come under 2mb of size
no case i am using & not any secure film on camera lens yet i am getting yellowish images.But when i edit the images with photo editor & click the auto colour button i get the perfect pictures.First image is clicked in very dark light condition(with zero visibility) with dual tone flash & i am getting very yellowish image.but the same image when i edit & set auto colour then moto changes automatically changes its colours which is closer to natural colours(in second image)
sorry image size are different because there was limitation of 2mb to upload file so i had cut images manually